
How to Use Authyo with Easy Form Builder: OTP Verification Guide
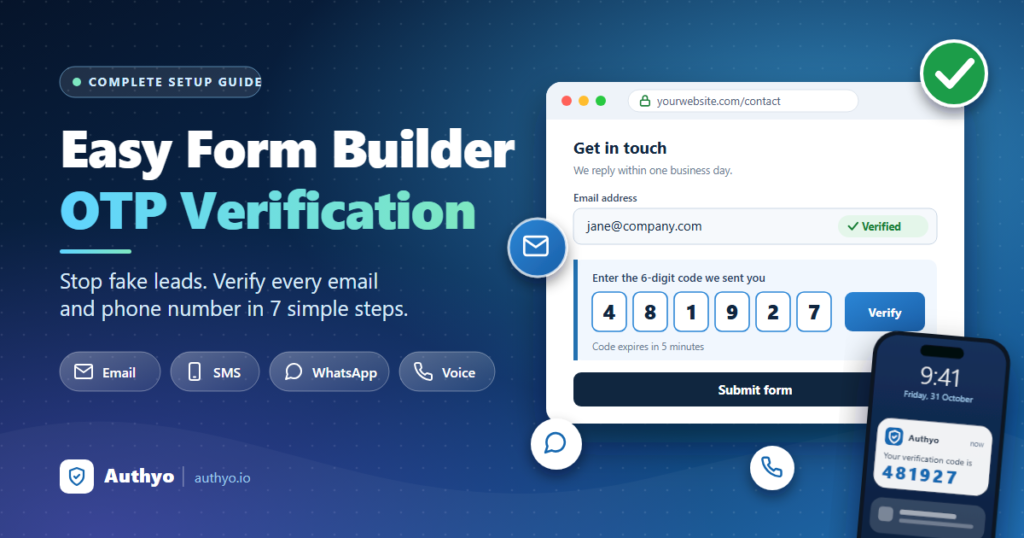
Easy Form Builder OTP verification is the fastest way to stop fake leads and spam from reaching your WordPress inbox. With the free Authyo OTP for Easy Form Builder plugin, every visitor must confirm their email address or phone number with a one-time password (OTP) before the form can be submitted. In this guide you will learn exactly how to set it up, step by step, in about 10 minutes.
- Why add OTP verification to your forms
- What you need before you start
- Step 1: Install and activate both plugins
- Step 2: Create your free Authyo account
- Step 3: Add your Client ID and Client Secret
- Step 4: Choose your OTP channels and settings
- Step 5: Add an Email or Phone field to your form
- Step 6: Turn OTP on or off for each form
- Step 7: Test your form
- Troubleshooting and tips
- Frequently asked questions
- Need help? Contact Authyo support
Why add OTP verification to your forms
Contact forms, quote requests and booking forms attract bots and people who type made-up details. Every fake submission wastes your time, pollutes your CRM and skews your analytics. OTP verification fixes this at the source: no verified email or phone number, no submission.
Authyo is an official partner of Easy Form Builder by WhiteStudio, so this plugin works with the normal Email and Phone fields you already use. You do not need to add a special OTP field or a shortcode.
What you need before you start
- A WordPress site (version 6.5 or newer) running PHP 7.4 or newer.
- The free Easy Form Builder plugin installed and active.
- A free Authyo account (we create it in Step 2).
- At least one Easy Form Builder form that has an Email or Phone field.
Install and activate both plugins
The Authyo plugin needs Easy Form Builder to be active first. If it is not, WordPress will refuse to activate Authyo and show a message asking you to install Easy Form Builder.
- In your WordPress dashboard go to Plugins → Add New Plugin.
- Search for Easy Form Builder, then click Install Now and Activate.
- Search for Authyo OTP for Easy Form Builder, then click Install Now and Activate.
After activation you will see a new menu item called Authyo OTP for Easy Form Builder in the left-hand admin menu.
Create your free Authyo account
Authyo is the service that actually delivers and checks the one-time codes. You need an account to get the two keys the plugin uses to connect.
Create your free Authyo account
Sign up, then open your app in the Authyo dashboard. You will see two values there: your Client ID and your Client Secret. Keep that tab open for the next step.
Add your Client ID and Client Secret
- In WordPress, open Authyo OTP for Easy Form Builder from the admin menu. You land on the General tab.
- Under API Credentials, paste your Client ID and Client Secret.
- Click Save Changes.
Good to know: your keys are stored encrypted on your site. After saving, the fields appear empty with a "Saved" tick. That is normal. Leave them blank to keep the saved keys, or type new values to replace them. You can also use Remove saved keys at any time.
Nothing happens until you save the keys. Until then the plugin stays completely dormant, so your existing forms keep working exactly as before. Saving the keys is also what downloads the list of countries used by the phone field.
The General tab also has a Setup checklist and a Take the tour button. The guided tour walks you through every setting on screen, which is handy if you want a second pair of eyes.
Choose your OTP channels and settings
Open the Verification Methods tab. This is where you decide how visitors receive their code.
Enable OTP channels
Tick the methods you want: Email, SMS, WhatsApp and Voice Call. Email is on by default. A channel works on every form that has a matching field.
Voice Call: Voice Call OTP currently works only on Indian phone numbers.
OTP defaults
| Setting | What it does | Allowed range |
|---|---|---|
| OTP Length | Number of digits in the code | 4 to 8 (default 6) |
| Expiry (min) | How long a code stays valid | 1 to 10 minutes (default 5) |
| Resend Cooldown (sec) | Wait time before "Resend OTP" appears | 10 to 120 seconds (default 30) |
| Max Resends | How many times a visitor can resend | 1 to 5 (default 3) |
Phone OTP settings
- Primary Method: SMS, WhatsApp or Voice Call. This is the default for phone fields.
- Fallback Timer: if the code does not arrive in time, visitors see links to try another enabled method.
- Allow visitor to choose method immediately: shows a choice of methods up front instead of using the primary one.
Skip Verification (use with care)
You can allow visitors to skip OTP for email, for phone, or for both. This is useful when verification is encouraged but not mandatory. If you want strictly verified leads, leave both switches off.
Country dropdown
Phone fields get a searchable country selector. You can show all countries, selected countries only, or a single country (the dropdown is hidden). You can also set a default country, for example India for a mostly Indian audience. If the list ever looks empty, click Refresh. It also refreshes automatically once a week.
Click Save Changes when you are done.
Add an Email or Phone field to your form
This is the easiest step, because there is nothing special to add. Build your form in Easy Form Builder as usual.
- Go to Easy Form Builder and create a new form, or open an existing one.
- Drag in the standard Email field, the standard Phone field, or both.
- Save the form and place it on a page with its shortcode, block or page-builder element.
The plugin detects those native fields automatically and attaches the OTP panel under them. Protection is also enforced on the server, so it cannot be bypassed by switching off JavaScript or posting straight to the form endpoint.
Tip: a form with no Email or Phone field is never touched by this plugin, even when OTP is enabled on the site.
Turn OTP on or off for each form
Every form with an Email or Phone field uses OTP by default. If one form does not need it, or you are still building it, open the Forms tab. You will see every Easy Form Builder form with an on/off switch. Flip a switch off and that form works normally again, with no effect on your other forms.
Testing a form? Switch it off while building so no real OTPs are sent, then switch it back on before you go live.
Test your form
Open the page that shows your form in a private browser window and try it as a visitor would:
- Type a valid email address (or choose a country and type a phone number).
- An OTP panel slides in under the field. Click Send OTP.
- Check your inbox or phone and enter the code. It verifies automatically once all digits are typed, or you can click Verify OTP.
- You will see a green "verified" message. Fill in the rest of the form and click Submit.
If you try to submit before verifying, the form politely stops and asks the visitor to verify first.
Using a caching plugin? Pages that show an Easy Form Builder form are marked as not cacheable automatically while OTP is active. If you switched OTP on after a page was already cached, clear your cache once so visitors see the OTP panel.
Troubleshooting and tips
| Problem | What to check |
|---|---|
| No OTP panel appears under the field | Make sure the Authyo keys are saved, the channel is ticked on Verification Methods, OTP is switched on for that form in the Forms tab, and the page cache has been cleared. |
| Phone field has no countries | Go to Verification Methods and click Refresh in the country section. Check that your Client ID and Secret are correct. |
| Notice says keys could not be decrypted | Your WordPress security keys (salts) were changed. Re-enter your Client ID and Client Secret on the General tab. |
| Notice about your wallet balance | Your Authyo balance is low. While it is empty, visitors are let through so you do not lose genuine leads. Add credits in your Authyo account, then dismiss the notice. |
| Notice that the submission endpoint was not found | An Easy Form Builder update may have changed something. Update both plugins and contact Authyo support if it continues. |
Frequently asked questions
The plugin itself is free. You need an Authyo account with credits to send the one-time codes.
No. The plugin works with the normal Email and Phone fields in Easy Form Builder and adds the OTP panel automatically.
Yes. Use the Forms tab in the plugin settings to switch OTP on or off for each form separately.
Email, SMS, WhatsApp and Voice Call. Voice Call currently works only on Indian phone numbers.
Visitors are marked as verified automatically so you never lose a genuine lead, and the site admin gets an email alert (at most once an hour) until you top up.
Email addresses and phone numbers are sent to Authyo only to deliver and check the code. On your own site the plugin keeps only short-lived (up to 30 minutes), non-reversible hashes. Form submissions are stored by Easy Form Builder as before.
Need help? Talk to Authyo support
Stuck on a step, or something does not look right on your form? Our team is happy to help. Just fill out the Authyo support form and we will get back to you.
Conclusion
Setting up Easy Form Builder OTP verification takes only a few minutes: install both plugins, add your Authyo keys, pick your channels, and build your form with a normal Email or Phone field. From then on, only visitors with a verified email or phone number can submit, so your leads stay real and your inbox stays clean.
Ready to try it? Create your free Authyo account and start verifying your leads today.